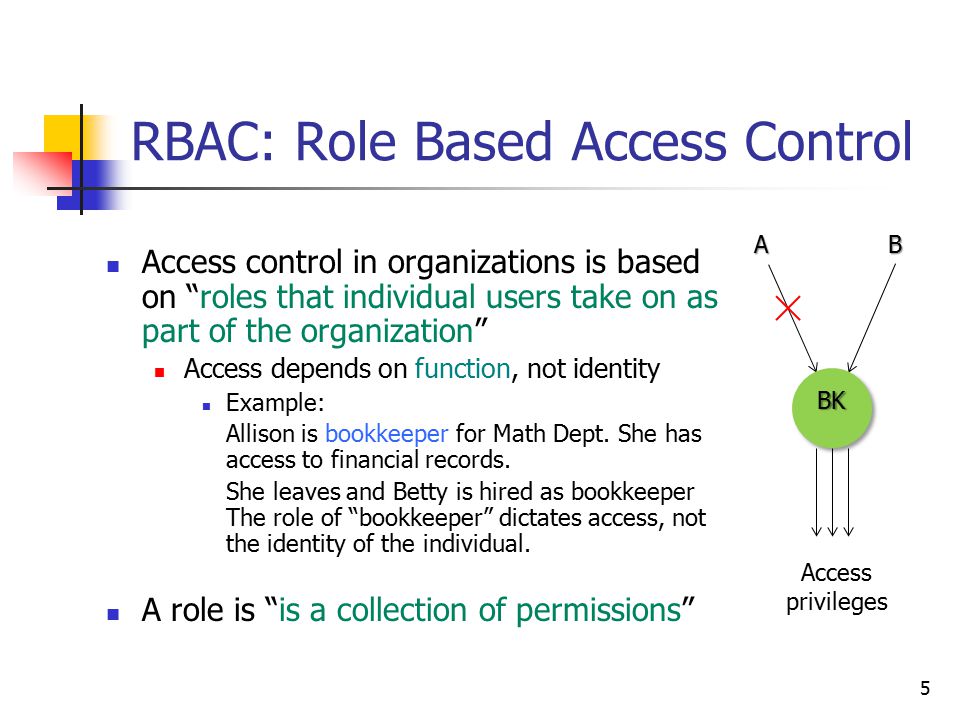
Role Based Access Control (RBAC) (part 3 of 3)
Configure RBAC
List Roles
- In the Azure portal, choose All services and then Subscriptions.
- Choose your subscription.
- Choose Access Control (IAM).
- Choose Roles to view a list of all the built-in and custom roles where the number of users and groups that are assigned to each role can be seen.
List Access
- Choose Azure AD in the navigation list.
- Choose Users to open All users.
- Choose an individual user in the list.
- In the Manage section, select Azure resources.
List Role Assignment for a Resource Group
- Select Resource groups in the navigation list.
- Select a resource group and then choose Access control (IAM).
The Access control (IAM) blade is also known as identity and access management where you can view who has access to this resource group which is either assigned specifically to the resource group or inherited from an assignment to the parent subscription.
Grant Access
Assign a role at a resource group scope
- Select Resource groups in the navigation list.
- Choose a resource group.
- Select Access control (IAM) to view the current list of role assignments at the resource group scope.
- Select Add to open the Add permissions pane, but you won't see this option if you don't have permissions to assign roles.
- Select a role like VM Contributor in the Role drop-down list.
- In the Select list, select a user, group, or application but if there is no security principal in the list, then, you type in the Select box to search the directory for display names, email addresses, and object identifiers.
- Choose Save to assign the role.
Assign a role at a subscription scope
- Select All services and then Subscription in the Azure portal.
- Choose your subscription.
- Select Access control (IAM) to view the current list of role assignments at the subscription scope.
- Select Add to open the Add permissions pane, but you won't see this option if you don't have permissions to assign roles.
- Select a role like VM Contributor in the Role drop-down list.
- In the Select list, select a user, group, or application but if there is no security principal in the list, then, you type in the Select box to search the directory for display names, email addresses, and object identifiers.
- Choose Save to assign the role.
Assign a role at a management group scope
- Select All services and then Management groups in the Azure portal.
- Choose your subscription.
- Select (details) for your chosen management group.
- Select Access control (IAM) to view the current list of role assignments at the subscription scope.
- Select Add to open the Add permissions pane, but you won't see this option if you don't have permissions to assign roles.
- Select a role like Management Group Contributor in the Role drop-down list.
- In the Select list, select a user, group, or application but if there is no security principal in the list, then, you type in the Select box to search the directory for display names, email addresses, and object identifiers.
- Choose Save to assign the role.
Remove Access
You can remove an access with the help of following steps:
- Open the Access control (IAM) blade for the management group, subscription, resource group, or resource that contains the role assignment you want to remove.
- Now, add a checkmark next to the security principal with the role assignment you want to remove in the list of role assignments.
- Choose Remove.
- In the remove role assignment message that appears, select Yes.
As the inherited role assignments can't be removed, you have to do it at the scope containing the created role assignment that consists of a link which can take you to the scope where this role was assigned. You can easily remove the role assignment by simply going to the listed scope.


Comments
Post a Comment