Incident Management (part 3)
To read part 1, please click here
To read part 2, please click here
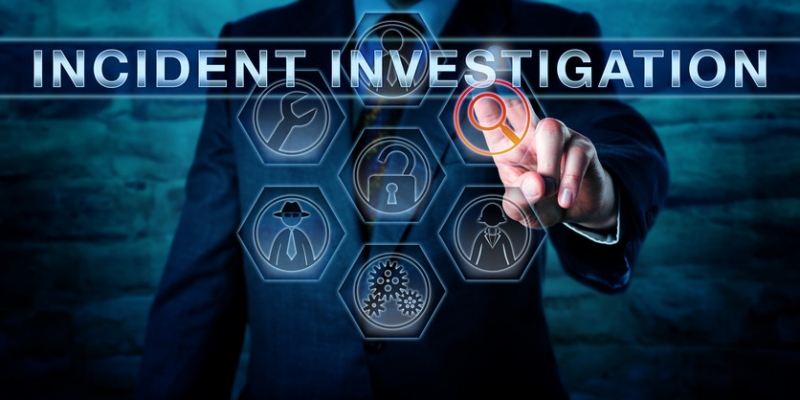
Investigating an Incident
An incident investigation can be done in Microsoft Sentinel via the graphical investigation page, which is a graphical interface to show the incident in question as well as find the related information. There is an Investigate button at the bottom of the incident details page and by simply clicking on it you can start the graphical investigation but if it is grayed out, then, that means there are no entities associated with the incident as it requires at least one entity for the graphical investigation to work.
Clicking on the button will take you to a page divided into different sections where the header bar provides the general information related to the incident (like title, severity, status, owner, and last update time); there are two columns buttons on the right side of the screen and the column on the left is consists of screen control buttons in which the top button can zoom in or out while on the far right of the page are the buttons related to the incident itself described below:
- The Timeline Button- As the name suggests, it helps you to view the timeline of all the incidents present on the screen and if there are a lot of alerts shown, then the timeline can show a history of when the alerts occurred. However, if a single incident is selected, then only the related entities will be highlighted in the view while others will be grayed out which makes it easier to navigate through the timeline and see what entities are related to which incidents.
- The Info Button- Here, you can view the related information of your selected entity. It can either ADDRESS, HOST NAME, or ACCOUNT NAME for IP, host, and account according to the type you have selected. But, if a URL is selected, then Microsoft Sentinel will perform URL detonation on all URL entity types which means that the URL against a list of known bad addresses will be checked and a screenshot of the website at the time of the alert firing is grabbed. DENOTATIONVERDICT is either BAD or GOOD whereas DETONATIONFINALURL is the final destination after all the URL redirects occur. DETONATIONSCREENSHOT is a screenshot of the site at the time of an alert firing.
- The Entities Button- It will show a list of all the Entities, Alerts, and Bookmarks along with the information of all the related alerts. If the mouse hover over any of the listed items, the User Interface (UI) will simply highlight the entities related to the item.
- The Help Button- As the name suggests, it can offer general help on the screen. Its page shows the entities and how they are related to each other. Its screen is a fully interactive one and you can move around the objects for a better view while zooming in and out.
To read part 1, please click here
To read part 2, please click here


Comments
Post a Comment